Thursday, April 19, 2012

Tulip Festival

Matt's parents are here to visit for 10 days and it has already been such a fun time. Ty warned up to them really fast probably because he skypes them so much! (Funny, that sounds like he's got his own iPhone!)
We ate at Twirl Cafe on Tuesday; it has good sandwiches and a big play area, went to the mall yesterday where the girls were treated to Build-A-Bears! And today we drove an hour north to Tulip Town which is part of the tulip festival that is for the whole month of April. It was chillier than expected, but we powered through and had a great day!

Sunday, April 15, 2012

J. Crew City mini in linen - a Tutorial

This tutorial is for a skirt that is currently in J. Crew stores.  It is a lined linen mini with pockets and elastic waist.  My friend and I saw it, both liked it, and the first thing I noticed was how ridiculously simple this $79.50 skirt was!  So, here is how I reproduced it!

I roughly measured a small size, while in the store, (using my iPhone) and it worked out pretty well.

  • You will need 1 yd of outer fabric, 5/8 to 3/4 yd of lining fabric, and one package of 1 1/2" elastic.
  • The seam allowance used here is 1/2".
  • I made a pattern for the skirt piece, 25.5" tall by 23" wide, with a fold line at 18.5" to cut the lining.
  • For the pocket pattern I traced a dress pocket, but if you want to try to draw it it is 8.5" tall and 7" wide with the straight part being 5.5" long.
1.  Cut 2 skirt pieces and 2 pocket pieces out of the outer fabric.  Cut 2 lining pieces and 2 pocket pieces out of lining fabric.

2.  With right sides together, sew lining pieces together, along the edges.
3.  With right sides together, pin outer pockets to one of the outer fabric pieces, laying them inside, 7 3/4" from the top edge, on each side.  Sew along the straight edge.  Do the same with the lining pockets and the other outer skirt piece.


4.  Press pocket pieces away from the skirt pieces.
5.  With right sides together, pin the outer skirt pieces together, pockets out, pinning around the pocket edges.  Sew.  *Leave a 1 1/2" opening 1/4" from the top of one edge.

*You may want to finish your edges with a serger or zigzag.

6.  Slide the lining over the outer skirt, wrong sides together.  Match up the seams and pin the lining 5 3/4" from the top edge of the outer fabric.  When pinning lay the pockets and seams towards the front of the skirt, which would look like the outer fabric is on top.  *Make sure the pin heads are away from the top edge.


7.  Press 1/4" around the top edge of the outer fabric, and 3 1/4".  Press folded edge over.

8.  Sew 1/8" from the edge of the 1/4" hem (bottom fold that is touching the lining.)
9.  Sew 1 1/2" from the last stitching, approximately 1 1/8" to 1 3/8" from the top edge; for the elastic.
10.  Cut elastic to fit.  I cut my exact waist measurement, but ended up taking off about 4".
11.  Insert the elastic in through the 1 1/2" hold that you left when sewing up the sides.  Overlap the edges 1/2" and sew elastic together.
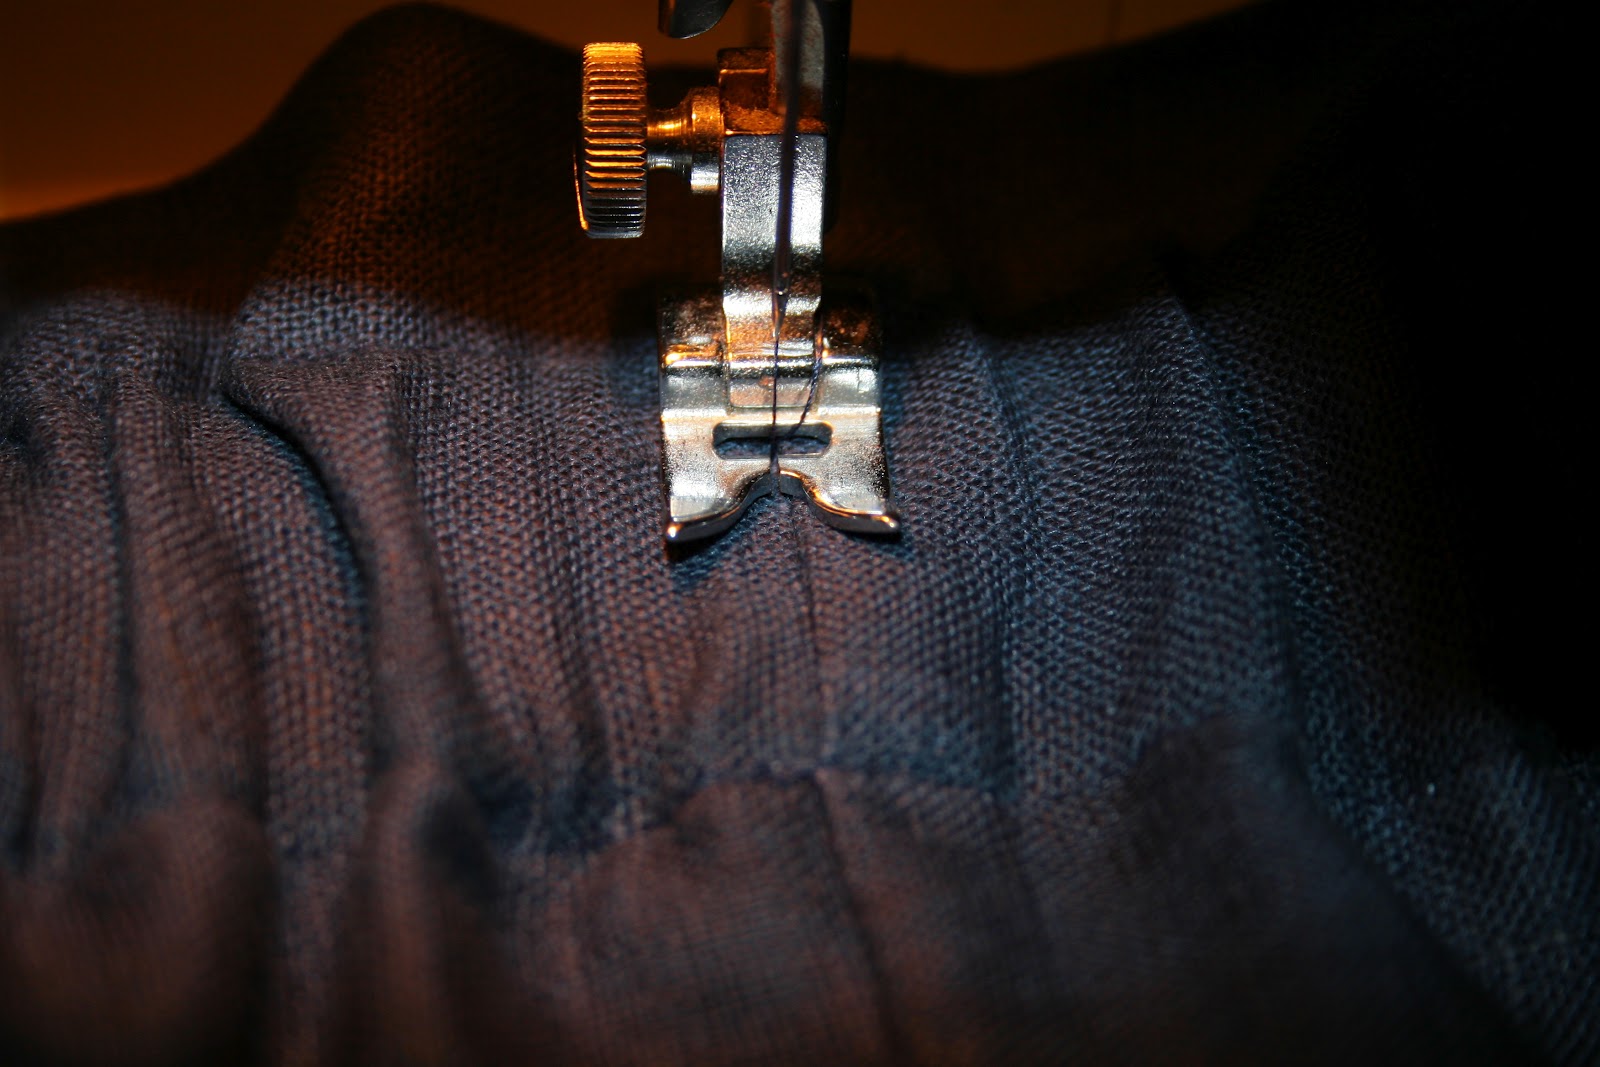
12.  Adjust the gathers on the skirt so that the side seams are even when held up.  Stitch in the ditch on both sides of the skirt over the elastic to keep it in place and prevent rolling. Slip stitch the hole in the skirt closed.
13.  Press hem of outer skirt fabric to desired length.  
14.  Press hem of lining at lease 1" shorter than the outer hem and sew.
15.  Slip stitch the outer hem.
16.  Press the whole skirt, specifically pressing the pockets flat, towards the front so that they are virtually invisible.
17.  This is what the inside will look like and the whole skirt!

Just like this one!
J. Crew

Friday, March 30, 2012

"Sad" Playdate

Our neighbors are moving. It is quite the bummer. Though they are only moving about 20 minutes away our girls really love playing with Martha and Matthew. We had a short Going Away Party for them yesterday-one last crazy playdate with all the neighbors over and some cake!

Wednesday, March 21, 2012

Princess Tea Party


I'm always looking for more space in our smallish townhouse.  I realized that I haven't used my fine china that we got for our wedding, since we lived in New York, I think.  I didn't register for it, and I really don't like it, so I dug it out to put on eBay and figured we might as well put it to use one last time!


We invited over all the neighbor girls and Siri's friend from MOPS.  Emma was generous and let everyone pick out one of her Shrinky Dinks to color and put on to a necklace.  Then we had sandwiches in the shapes of crowns and butterflies, carrots, and energy bites, tea, and cupcakes!  The pretty little princess then all went upstairs to be destructive, as all little princess should be sometimes!

Saturday, December 10, 2011

Emma's Sixth Birthday!

Emma's Kung Fu Panda 2 birthday party was on Friday! We had 12 kids in here, including 2 new friends from Emma's class. The kids played a KFP2 game, and watched KFP2. We ate Chinese food, had cake, and opened presents! Emma was so excited about everything! On Saturday we skyped Nona and Zeyda (Matt's parents) and Uncle Avi, so she opened her gifts from them: a panda winter hat (so hot in NYC right now), Beauty and the Beast Squinkies, and a baby Jasmine doll. Yesterday, her actual birthday, she got $5 from Mom, Dad and Siri, so she was able to get the Hello Kitty watch that she's been saving for! Fun weekend!

Tuesday, December 6, 2011

Bible Pages and Chipboard

This is a Christmas gift that I just finished. I had some chipboard letters that I didn't know what to do with and an ugly wall hanging that I had gotten on sale a long time ago to use for a mosaic. I went with a Christmas theme and stuck chip board letters on my board to spell, " A Child Is Born." then I cut out the pages from an old Bible from the passage telling of the Messiah's birth (Luke 1-2) along with some passages from Matthew and Isaiah, (5 pages in total.) My husband dyed the pages in coffee for me and then I decopauged them over the chipboard letters. I mixed the pod podge with water and that was helpful to get the paper wet enough to manipulate around the letters. It was meticulous, but I did it in one day in between playing Candyland and baking birthday cakes. I haven't decided if I'm going to mod podge over the whole thing, and I might add some light application of brown paint around the letters to make them pop.

Tuesday, November 29, 2011

Autumn Dioramas

These pictures aren't super great, but this was the latest craft that we did together.  I cut up cereal boxes and secured the back of the diorama.  Then we just glued colored construction paper for the sky and grass.  The girls used many skills to make this, including ripping white for the clouds, drawing the trees, cutting little cuts to make the grass.  Then they glued ripped up pieces of red, orange, yellow, and brown for the background trees.  Next we made the 3D trees out of toilet paper rolls and brown pipe cleaner.  For the finishing touches the girls put fall leaves and pine cones on the 3D tree and on the ground.  Pretty cool fall project.